The copy & scan function, as well as our manual release feature, will be available to the users either through a tablet located next to the printer or on the native printer panel, if you have a compatible Ricoh device that supports the Princh embedded copy & scan application.
- Follow this guide to copy or scan using Princh (video guide)
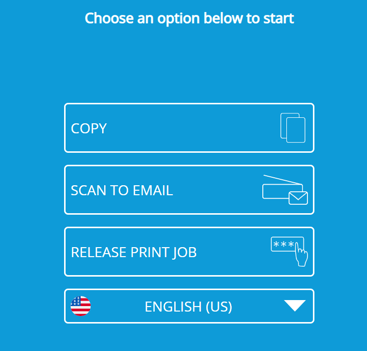
How to copy or scan (text guide)
- Select the option that is most suitable for your needs.
- Choose either "Glass" or "Document Feeder" based on your preference and the capabilities of the MFP.
- Choose the paper format.
- Select either the "Single-sided" or "Double-Sided" scanning.
- To proceed, press the button "Scan Now".
- To proceed, press the button "Scan Now".
- After completing the scan, a preview of the page will be displayed. To continue, click "OK". Or use the "Add Page" or "Discard Page" buttons based on your preference.
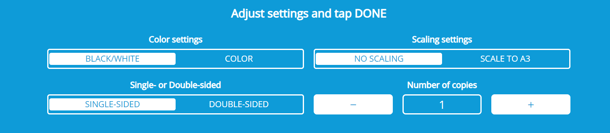
- Customize the settings to fit your specific preferences and requirements. To continue, click "Done".
- In this window, you have the option to add additional documents, "Cancel" the order, or click "Continue" to proceed with the payment process.
- Choose the payment method that suits you best and follow the prompts in the payment window to complete your Copy/Scan order.
If you are unable to see certain options shown in the pictures above, it could be because those options have not been enabled for that particular printer in the Princh Administration Panel.