This article provides step-by-step instructions on how to install .NET Framework 4.8 on a server or PC.
To successfully install and use the Princh Cloud Connector, it is crucial to have the .NET Framework 4.8 or a newer version already installed on your server or PC. Below, you will find two comprehensive guides that will walk you through the step-by-step process of:
- Determine which version of .NET Framework is currently installed on your system.
- Installing .NET Framework 4.8 or newer.
How to determine which version of .NET Framework is already installed:
- On the Windows PC or Server, open the Registry Editor by either:
-
- Pressing the 'Windows Key + R' This key combination opens the Run dialog box.
-
- Type “regedit”: In the Run dialog box, type “regedit” into the text field.
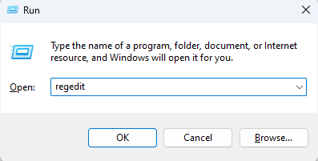
- Press 'Enter' your keyboard or click 'OK' to launch the Registry Editor.
- Type “regedit”: In the Run dialog box, type “regedit” into the text field.
-
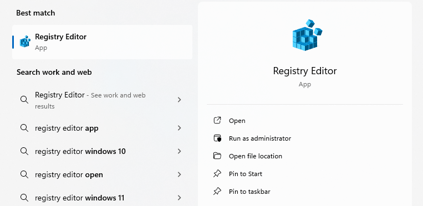
- OR, you can search for "Registry Editor" in the Windows Search Bar and open the application from there.
- Pressing the 'Windows Key + R' This key combination opens the Run dialog box.
-
- Navigate to the following directory in the Registry Editor window to confirm the current version of .NET Framework. If the ‘Version’ is NOT listed as 4.8 or newer, please refer to the installation guide detailed below to install the correct version.

- HKEY_LOCAL_MACHINE\SOFTWARE\Microsoft\NET Framework Setup\NDP\v4\Full
How to install .NET Framework 4.8 or newer:
- Navigate to the Microsoft .NET Framework download page.
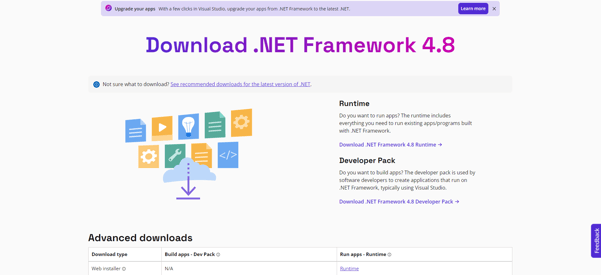
- Download the .NET Framework 4.8 runtime version - simply click on the download link located on the right side of the screen and the download will being automatically.
- Once the bundle has been downloaded, run the installation bundle as administrator and wait while the Microsoft .NET Framework is being installed on the server or PC.
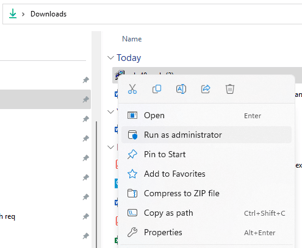
- NOTE: The installation time of .NET Framework may vary depending on your device. After completing the installation process, it is highly likely that the host server or PC will require a reboot.
- After the installation is complete, click "Finish" and restart the device.
- Double check Registry Editor to ensure, that .NET Framework 4.8 has been installed correctly.