Adding a printer to a location
- When signed in to the Princh Administration Panel as an admin user, open the "Locations & Printers" tab from the menu on the left.
- Click the "Add new printer" button on the location you would like the printer to be added to.

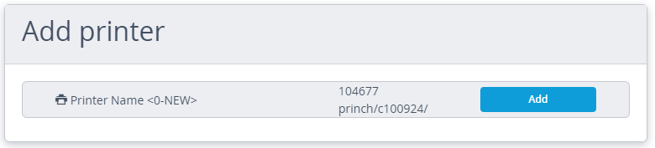
- From the list of available printers, click "+Add" on your desired printer. The list only displays printers not currently assigned to a connector. For information on how to create a new printer, follow THIS guide.
Configuring printer pricing and settings
- Once added to the location, the printer pricing and settings can be configured by pressing the blue 'Edit' button on the printer.
- Customize the printer's name and location in the building to help your users easily locate and identify the printer.

- Next, scroll down and input the price for each available option that you want to provide to your users. Remember to press the 'Enter' key after setting each price to save the changes. If there are any options that are not available on the printer, you can disable them by using the checkbox located below the price field.
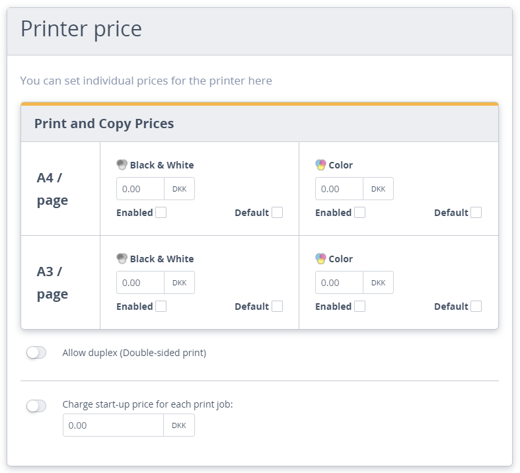
Make sure to also select whether the printer should allow duplex printing or not. If a fixed start-up price should be charged for each order, you can set it here as well. -
At the bottom of the page, you can find the privacy settings. Here, you have the option of enabling or disabling manual release feature. Additionally, you can decide whether the titles of documents submitted to this printer should be masked when viewed in the Administration Panel.

If any further assistance is required, please contact Princh Support.